Does your makeup make you look older?
When you were younger, you put on makeup to make you look older. Now that you are older, you don’t want to look older! Is the foundation you are using sinking into the fine lines, making them look worse?
Luckily, you have come to the right place! I am going to help you find the right primer and foundation so the signs of aging aren’t exaggerated anymore!
As an Amazon affiliate, I may ear a small commission from qualifying purchases at no extra cost to you.
A Magnificent Routine
I won’t carry on too long here, but you need a good skincare routine so you have the right canvas to start with. You will definitely want well-moisturized skin before applying any makeup because wrinkles are more prominent if your skin is dry.
The Right Primer
Primer prepares the skin before applying the makeup. A silicone-based primer, such as StriVectin Line Blurfector, will blur the pores, fine lines, and wrinkles. If you would like a primer that firms, then you should try Elemis Pro-Collagen Insta-Smooth Primer.
You will apply it right after your moisturizer and SPF and it will help your makeup last all day along with keeping your complexion youthful-looking. To apply your primer, you can use either your fingers or a makeup brush. You won’t want to use a beauty blender because it will just soak up the primer.
What kind of foundation is best for aging skin?
First, you should know using liquid is better than powder foundations because they settle into fine lines and wrinkles. Next, you’ll want to avoid a matte finish because they filled those foundations with pigment that can get cakey and will settle into lines and wrinkles.
When choosing your foundation, you will want a lightweight, water-based, hydrating, and satin-finish liquid. ” Foundations that have sheer coverage and dewy luminous finish work best with women who are concerned with fine lines and wrinkles”. (goodhousekeeping.com)
For your shade of foundation, you will want to choose either a yellowish or just a tad darker than your natural tone. This will make your look warmer, hence giving you a more youthful color.
Most recommended foundations
1. Covergirl+ Olay Simply Ageless 3- in-1 Foundation has skincare built-in and will enhance your skin tone, reduce the look of wrinkles, firm, and hydrate.
2. Maybelline Instant Age Rewind Eraser Treatment will erase the look of fine lines and wrinkles and also hydrates. Comes with a micro- corrector applicator to fill and smooth surface imperfections.
3. It Cosmetics Your Skin But Better CC+ Cream is an award-winning color-correcting cream with skin-loving ingredients such as collagen, peptides, vitamins, hyaluronic acid, antioxidants, and niacin.
How to apply
First, you will wet your beauty blender and squeeze out the excess water. Next, put some foundation on the back of your hand and dip the beauty blender into the foundation. Start in the middle of your face using dabbing motions and blending outward. The great thing about using a lightweight foundation is you can build on it in places you may need a little more coverage, just not too much!
Do you use concealer before or after foundation?
Honestly, when I was younger, I always thought the concealer went on before the foundation. I guess you can say I was halfway right. If you are using a color-correcting concealer, this one goes on before the foundation.
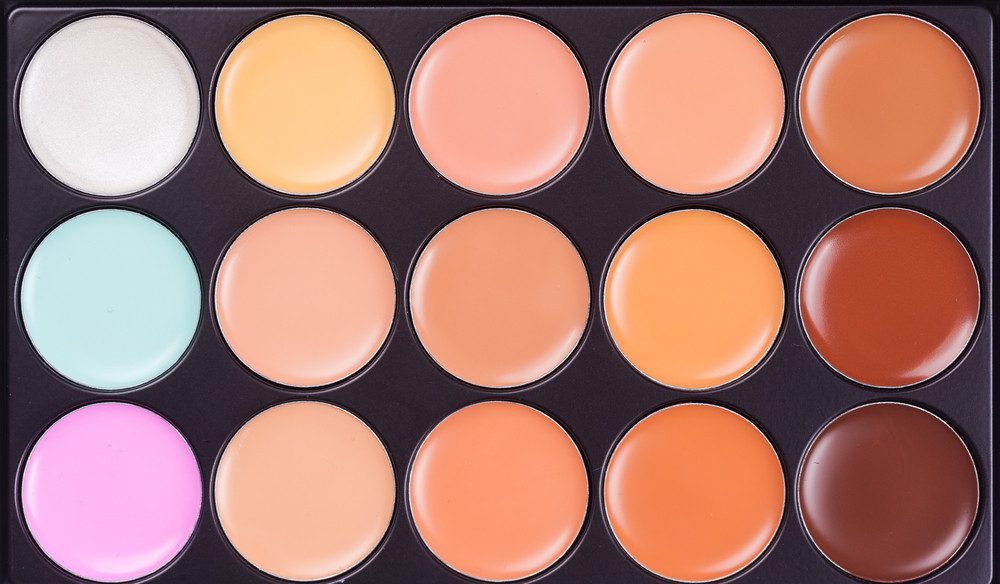
For any imperfections you want to cover, you will need a concealer that closely matches the color of your foundation. You will use your blender to dot where needed.
If you would like to brighten up your under-eye area, you’ll use a shade that is one or two lighter than your skin tone, make an upside-down triangle, then blend out.
Under Eye Concealer
If you prefer using a concealer specifically for under your eyes, then you should use a creamy, hydrating, and creaseless concealer such as Nars Radiant Creamy Concealer. However, before you apply the concealer, moisturize and give it time to soak in.
If you have several lines and wrinkles, you’ll want to look up and lightly stretch out the skin for application. Start with a thin layer and if you need more coverage, just build on thin layers.
This is where you will use some powder and it’s called a “baking technique”. You’ll dust on a thick layer of powder and let it sit for a few minutes and then dust off the excess. They make specifically Huda Beauty Easy Bake Powder for this purpose.
Skip the Powder
Even though we have been using powder to help set the foundation, it’s heavier, so it will settle into any lines and wrinkles. If you absolutely must use powder, a very light dusting will do. Avoid any areas with lots of wrinkles.
Use Cream Blush
Before applying your blush, use your ring finger to tap a cream-based highlighter on the top of your cheekbone. Doing this will give you a glow through the blush.
For your cream blush, you’ll want to use pink or peachy tones that complement your natural skin tone. You’ll apply a small amount on top of the highlighter and blend up toward the ear.
Tip#1: To find your actual cheekbone, place one finger on top of your ear and the other at the tip of the side of your nose and bring them together.
Tip#2: Take 2 fingers and place them beside your nose and this is where you apply the highlighter and blush.
Product to try: e.l.f Putty Blush is a creamy and pigmented formula and also is infused with argan oil and vitamin E.
Eyebrows
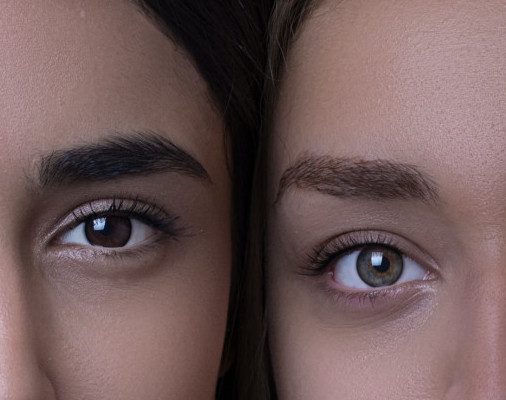
The idea here is to create a defined brow and lift the eye. So, first, you should know where your eyebrows are supposed to begin and end. Take a pencil, hold it vertically and parallel to your nose. That is where your eyebrow should begin, aligning with the inner corner of your eye.
Next, hold the pencil from the tip of your nose diagonally align to the outside of your iris(colored part of your eye) and this is where your arch will be.
Last, align the pencil from your nose to the outer corner of your eye and this is where your brow ends.
Use a face-framing brow pencil to fill in areas of less hair. Before the arch, use very fine hair-like strokes in an upward motion. After the arch, go more at a 90-degree angle. For light-haired color, use a slightly darker pencil, and for dark hair use a slightly lighter one.
Lock the hairs in place using Maybelline Brow Fast Sculpt, applying in an upward brushing motion.
Keep Eye Makeup Minimal
If you choose to wear eye shadow, you will need to prep your lids with eye primer first or you can use a neutral shade across the lid to keep the shadow from settling.
While it may tempt you to craft the perfect smokey eye, to look younger, you should avoid dark colors. On that note, frosted and glittery should be avoided as well. The dark colors bleed, and the frosted and glittery will definitely settle into lines or wrinkles.
Light browns and taupes are the best for mature skin, but you can use a darker color in the crease to create some dimension and depth.
For your eye shadow, you will want to use a cream with a satin finish because it sinks into the skin and feels more like a part of the face. (allure.com) With the creams, you can use the ones with a shimmer finish as well.
Avoid liquid liners, as these will settle into wrinkles. Instead, use a soft shade pencil and use it on the upper lid only, tightly to the lash line. Browns and greys are the best to use.
If you would like to brighten your eyes up a little, use a light color on the bottom water line, but not white because this will not look very natural.
Curl Those Lashes
Curling your lashes will open your eye more and make them look bigger. You will also want to look for a tubing formula so the mascara will adhere to your lashes and not run or transfer to under your eye.
With wearing false eyelashes, I have found conflicting views on the matter. Some say that wearing the falsies will pull your eye down and make it look worse while others say they will glam your look up a bit. This one, I suppose, can be your own preference. Try them if you want and see how it goes!
Perfect Your Pout
There are lip treatments out there with some pretty promising results, such as Veneffect Anti-Aging Lip Treatment or Dermalogica Nightly Lip Treatment, you may want something more “right now”. So, here we have come to the part on how to make your lips look younger using makeup.
To hide those lip lines
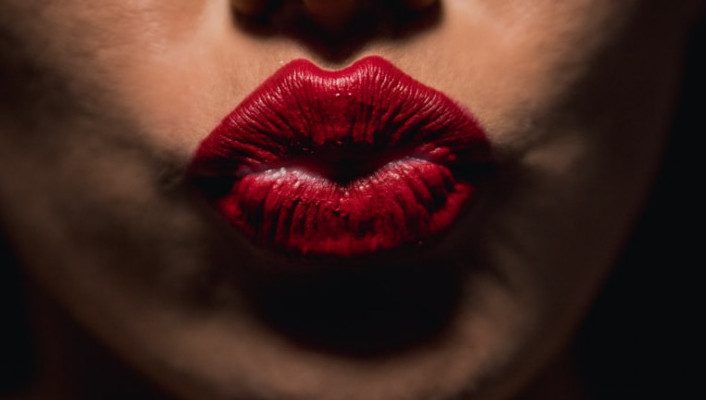
It’s essential that you first moisturize your lips very well using a lip balm. Next, you will apply lip plumper to your lips, followed by sparingly applying lip primer to the outer edges of your lip(s) where lines are visible. E.L.F. offers a lip plumper and primer duo that has ingredients your skin will love, will have your lips looking fuller, and have your lip color lasting all day.
If your lips are thin and you want fuller lips, you will need a lip lining pencil that closely matches the natural shade of your lips. You will line your lips outside the line of your lips. Fill in your lips with the pencil as well, this will also help your lip color last longer.
You may want to do your lips before your eyes
Depending on the color you choose for your lips, it may be a good idea to apply your lip color before you apply your eye shadow. Some makeup artists have recommended using a bright color for your lips to get a more youthful look and others have suggested using more neutral tones.
So, you can experiment with your lip color and then do your eyes accordingly.
Extra Tips and Tricks
Make sure you bring your makeup past your jawline and if your neck looks paler than your face, you can dust some bronzer across it.
If you need to tighten your neck up, then you should try this sample size of StriVectin Advanced Tighten and Lift Neck Cream.
Use natural light to apply your makeup, it makes it easier to see the right colors and your natural skin tone.
To make your eyeliner glide more easily, hold it under a lighter for a second or two, Swipe it across the back of your hand to make sure it’s not too hot or melted.
Use a spoon above your eye to shield it while applying mascara. Also, if your mascara is less than 3 months old and it has dried up, you can add a few drops of saline solution to it.
Wash makeup brushes and sponges with baby shampoo or soap every couple of weeks or so to avoid bacteria buildup. When washing the brushes, don’t let the soap and water get to the base of the brush head because the bristles are glued in and the soap and water can cause them to become loose and shed.
When drying the brushes, towel dry them at first and reshape them and then let the brush head hang off the edge of a counter. Don’t let them dry vertically because water can run down into the ferrule (where the bristles are joined to the handle) and don’t let them dry on a towel for the risk of mildew.
Conclusion
Even though you may have had concerns about your makeup products and application making you look older, I hope all the tips and tricks above had laid those to rest. If I left anything out that you may be having problems, please leave me a comment below or shoot me an email and I will be happy to help.
Don’t forget to make sure you have the right kind of makeup brushes and sponges for a flawless application!


I am always torn knowing if it is okay for a man to buy any of these products for his woman? You have written a very informative, organized article and I appreciated reading it very much. There are several products like the aging lip treatment and lip balm. My fear is if I buy some lip balm for my lady friend say, do you think she will take offense and think that I don’t like her lips?
Your lady should not be offended by you buying products that could help her in her skincare. You could just let her know you came across an article that recommended it and thought she would like to try it for herself.
The benefits of applying makeup are extensive as it helps ladies on several occasions, helping to boost confidence, enhance the beauty and showcase that special beauty in them.
I am glad you found it useful.